Vue3基础语法
setup语法糖
vue3新增一个setup语法糖形式:
①第一种写法,注意需要将变量return出去:
展开代码
<template>
  <div>
   // 运行结果为'h是h'
   {{ a==1?'h是h':'nn' }}
  </div>
</template>
<script>
export default {
  // vue3新增setup语法糖
  setup() {
      const a = 1
      // 必须将a变量return出去才可以显示
      return {
          a
      }
  }
}
</script>
<style></style>②由于第一种语法每次要将变量return出去比较麻烦,所以使用以下这种形式:
展开代码
<template>
  <div>
    // 运行结果'hh'
    {{ a==1?'hh':'nn' }}
  </div>
</template>
<script setup lang="ts">
    // 这是typescript的写法

  const a:number=1


</script>
<style></style>v-text
展开代码
<template>
  <div v-text="a">

  </div>
</template>
<script setup lang="ts">
  const a:string='我是一段文字'


</script>
<style></style>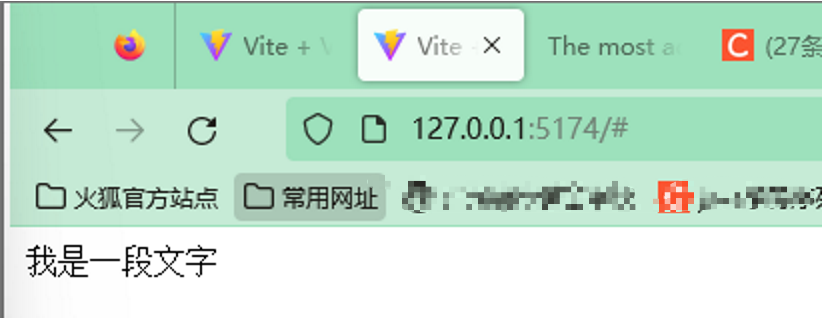
v-html
v-html支持html标签,但不支持自定义组件的标签
展开代码
<template>
  <div v-html="a">
  </div>
</template>
<script setup lang="ts">
  const a: string = '<h2>我是一段文字<h2>'
</script>
<style></style>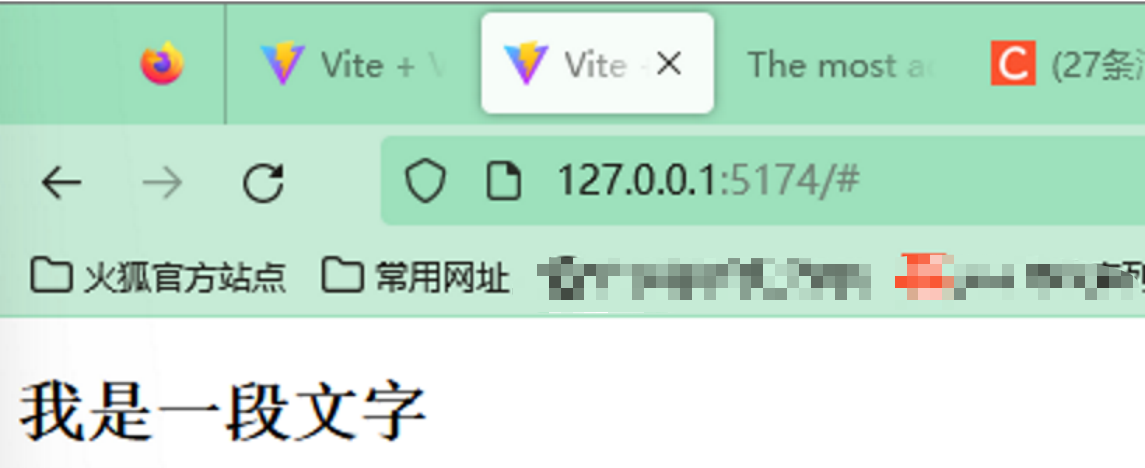
v-show
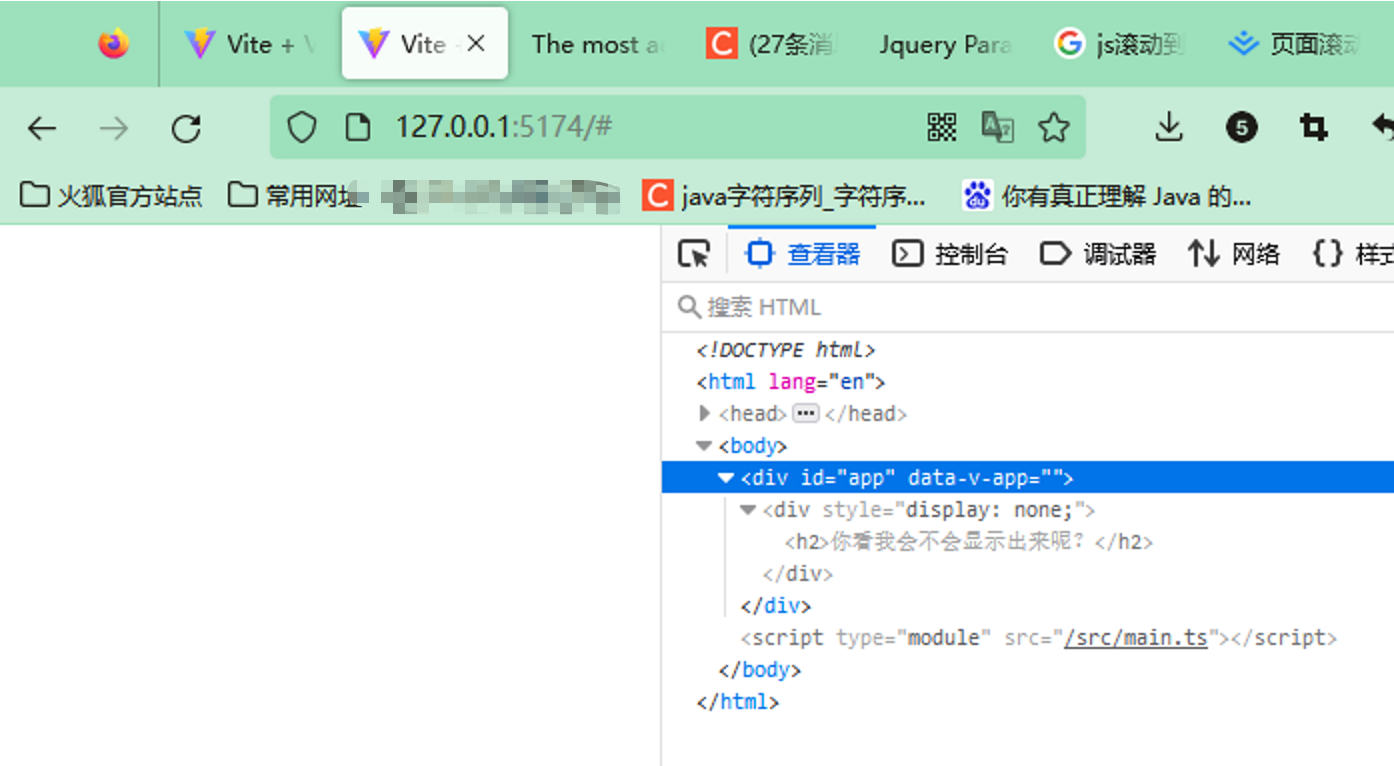
v-show跟v-if的不同在于v-show仍然会渲染元素,但是会使用css的display:none将元素隐藏,在对元素进行切换显示时性能会比v-if高,看代码:
展开代码
<template>
   <div v-show="a">
      <h2>你看我会不会显示出来呢?</h2>
   </div>
</template>
<script setup lang="ts">
   const a:boolean =false
</script>
<style></style>使用F12查看可看到变成了注释:
v-if
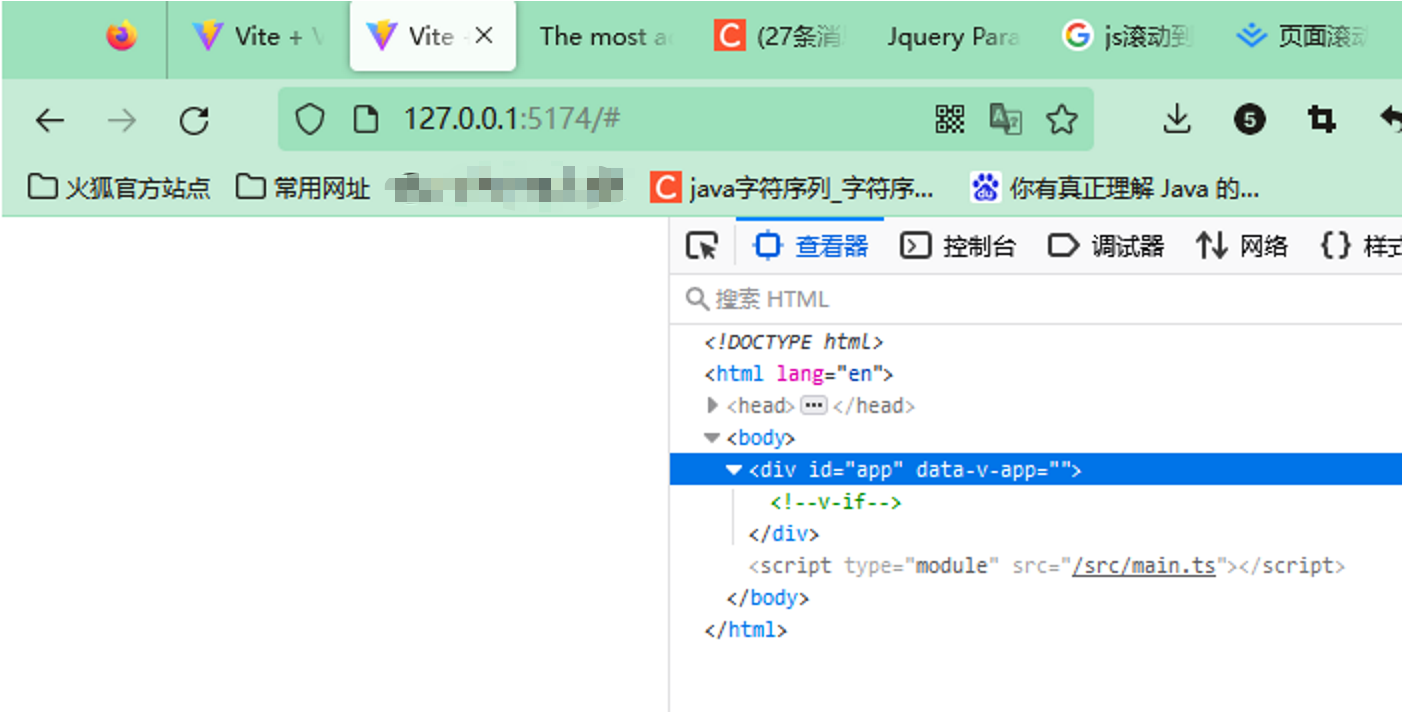
当a为true时,h2标签会出现,若为false,则不会出现,以下a为false,不出现:
展开代码
<template>
  <div v-if="a">
    <h2>你看我会不会显示出来呢?</h2>
  </div>
</template>
<script setup lang="ts">
  const a:boolean =true
</script>
<style></style>使用F12查看可看到变成了注释:
v-else
跟if-else一个意思,看代码:
展开代码
<template>
  <div v-if="a">
    <h2>你看我会不会显示出来呢?</h2>
  </div>
  <div v-else>
    <h2>他不显示我来显示</h2>
  </div>
</template>
<script setup lang="ts">
  const a:boolean =false
</script>
<style></style>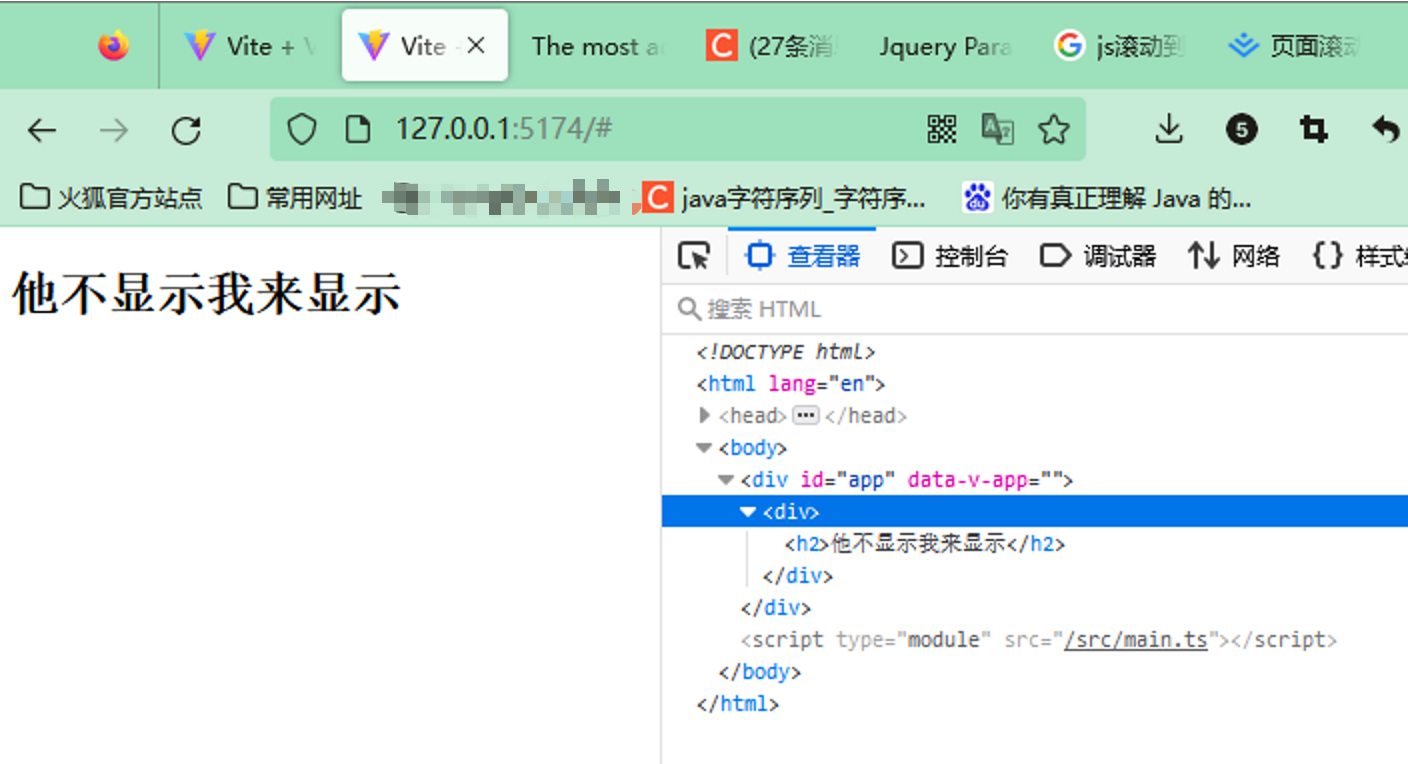
v-else-if
跟if-else if-else一样,看代码:
展开代码
<template>
  <div v-if="a">
    <h2>你看我会不会显示出来呢?</h2>
  </div>
  <div v-else-if="b">
    <h2>他不显示我来显示</h2>
  </div>
  <div v-else>
    <h2>都不显示那我也不显示</h2>
  </div>
</template>
<script setup lang="ts">
  const a:string="b"
</script>
<style></style>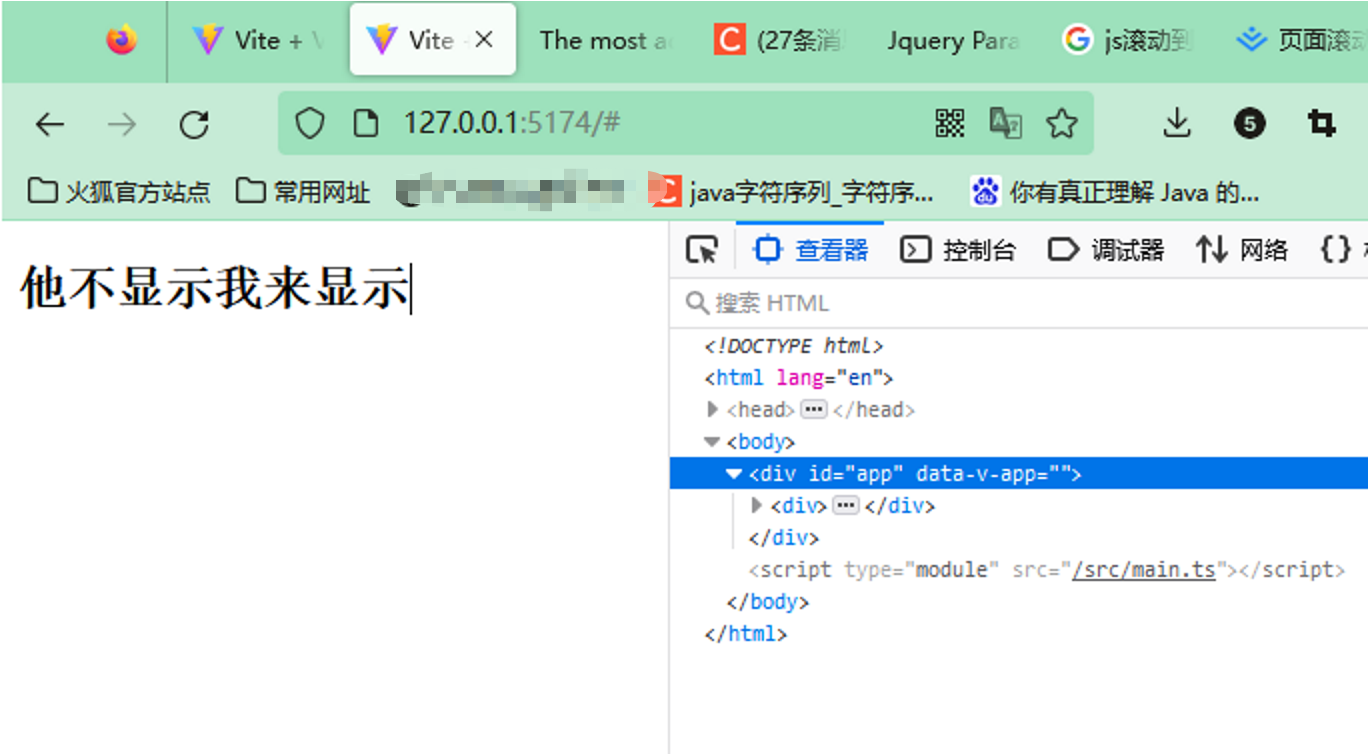
v-on
用于绑定事件,可以使用简写形式'@',看代码:
展开代码
<template>
  <button @click="clickme">点我</button>
</template>
<script setup lang="ts">
  const clickme = () => {
    const a:string='在控制台显示我'
    console.log("🚀 ~ file: App.vue:7 ~ clickme ~ a:", a)
  }
</script>
<style></style>

<!-- 以下代码效果一样,不过是动态地添加事件名 -->
<template>
  <button @[event]="clickme">点我</button>
</template>
<script setup lang="ts">
  // 动态添加事件名
  const event='click'
  const clickme = () => {
    const a:string='在控制台显示我'
    console.log("🚀 ~ file: App.vue:7 ~ clickme ~ a:", a)
  }
</script>
<style></style>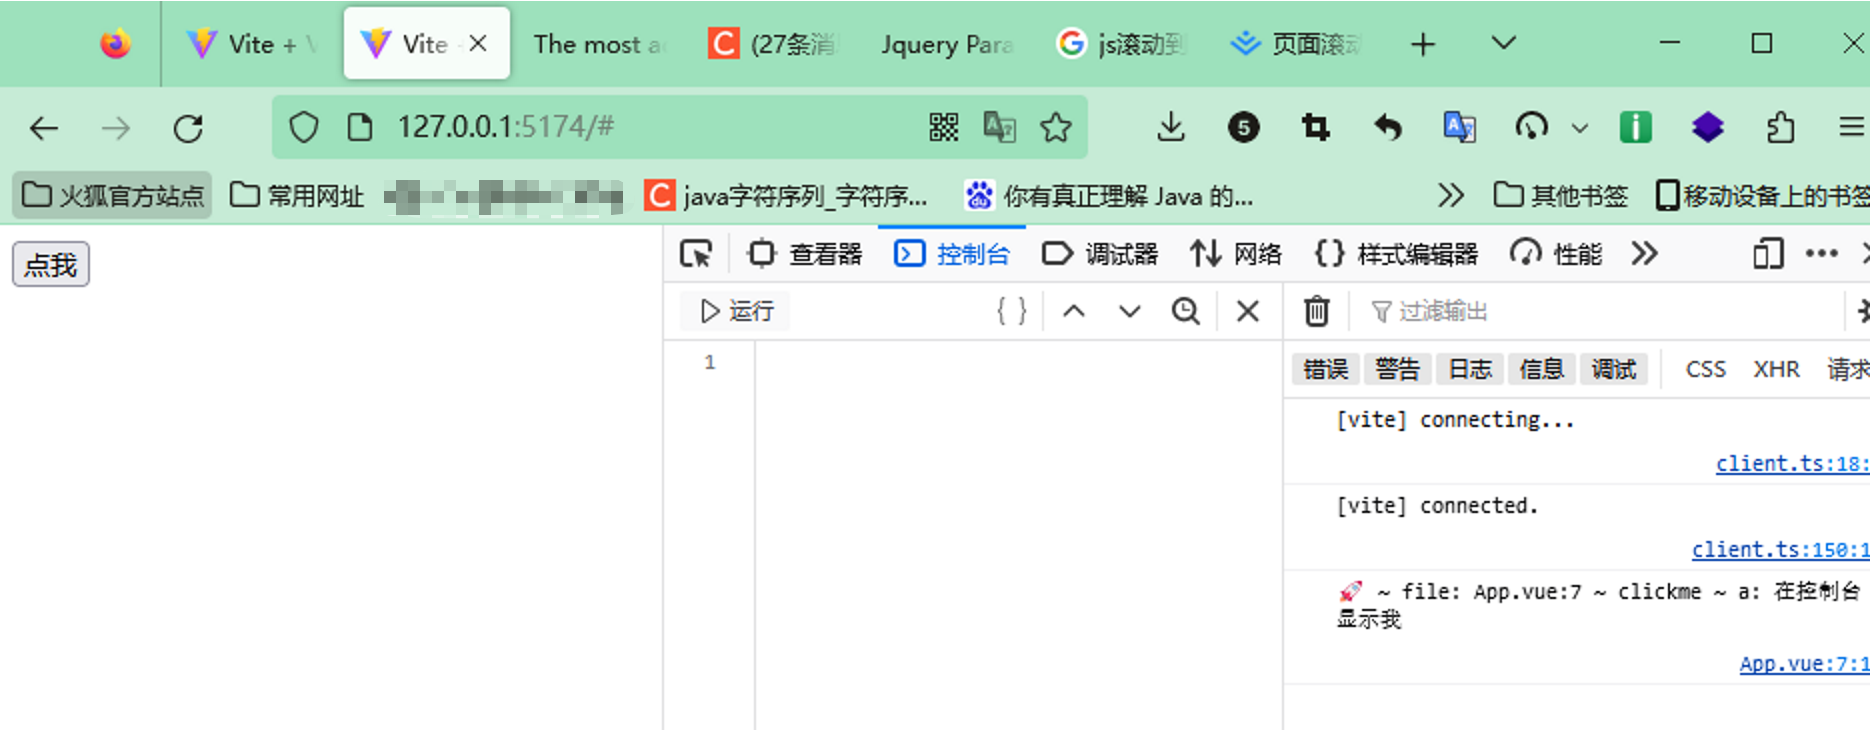
给元素套一个父级的标签,控制台显示时会冒泡的显示,也就是从里到外,先触发button元素的事件,再触发父级div元素的事件,看代码:
展开代码
<template>
  <div @click="faClick">
    <button @[event]="clickme">点我</button>
    <!-- 可以通过.stop阻止冒泡事件,父级的事件将不会触发 -->
    <button @[event].stop="clickme">点我</button>
  </div>
</template>
<script setup lang="ts">
  // 动态添加事件名
  const event='click'

  const faClick=()=>{
    const a:string='在控制台进行冒泡的显示父级'
    console.log("🚀 ~ file: App.vue:7 ~ clickme ~ a:", a)
  }

  const clickme = () => {
    const a:string='在控制台显示我'
    console.log("🚀 ~ file: App.vue:7 ~ clickme ~ a:", a)
  }
</script>
<style></style>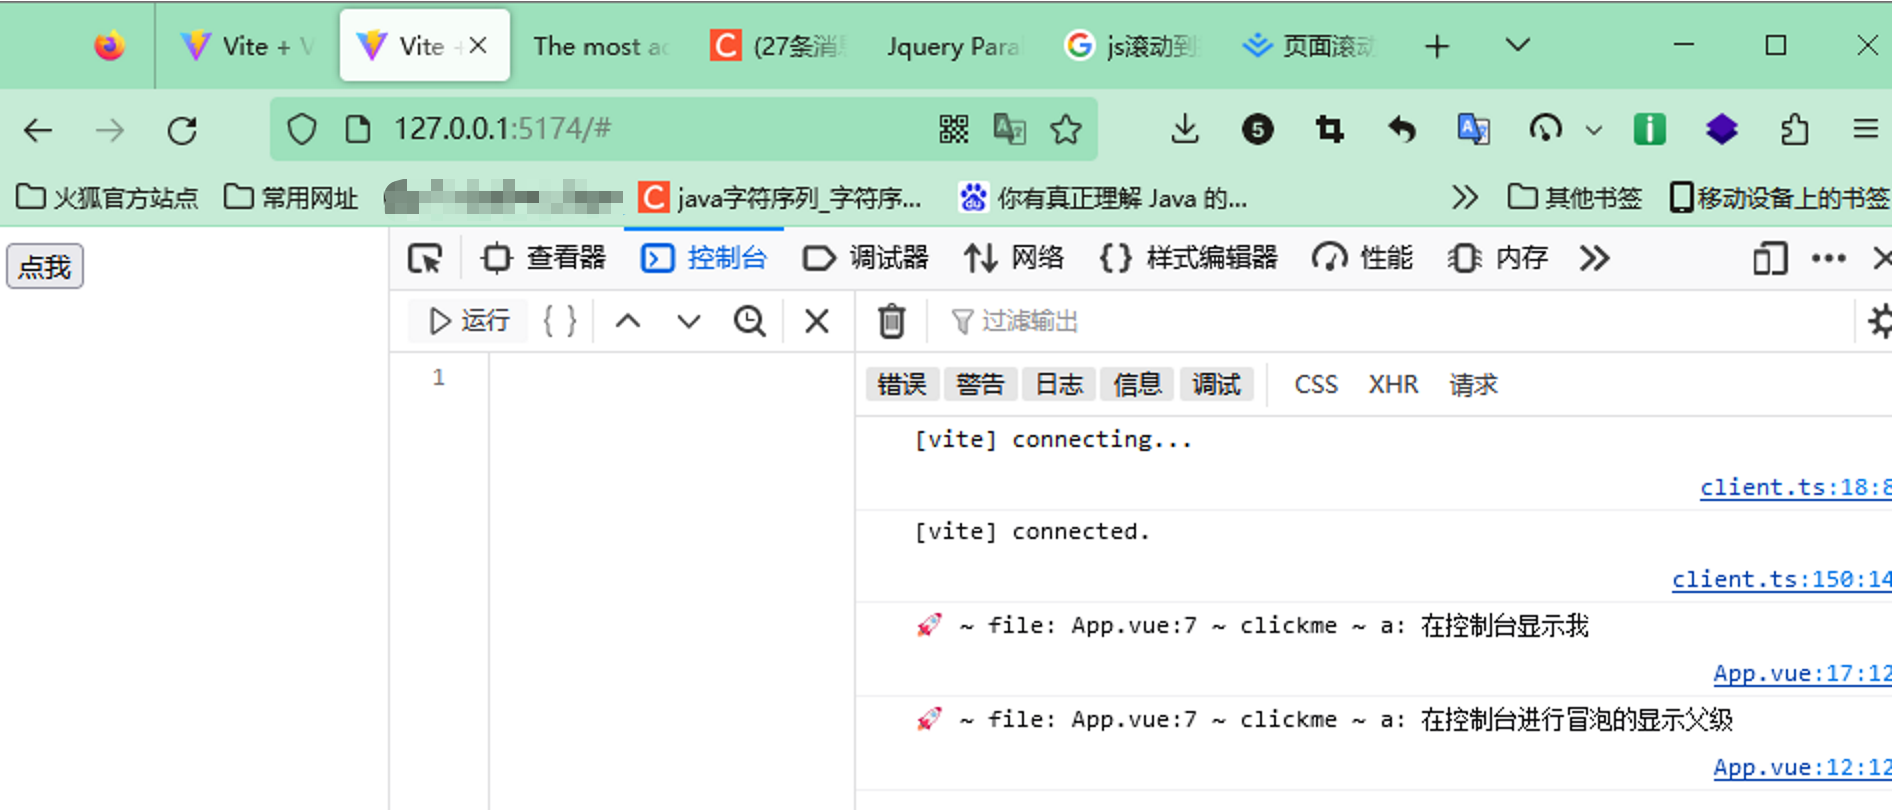
还有更多跟stop一样的事件修饰符,例如:
- .stop
- .prevent
- .self
- .capture
- .once
- .passive
展开代码
<!-- 单击事件将停止传递 -->
<a @click.stop="doThis"></a>

<!-- 提交事件将不再重新加载页面 -->
<form @submit.prevent="onSubmit"></form>

<!-- 修饰语可以使用链式书写 -->
<a @click.stop.prevent="doThat"></a>

<!-- 也可以只有修饰符 -->
<form @submit.prevent></form>

<!-- 仅当 event.target 是元素本身时才会触发事件处理器 -->
<!-- 例如:事件处理器不来自子元素 -->
<div @click.self="doThat">...</div>注意:使用修饰符时需要注意调用顺序,因为相关代码是以相同的顺序生成的。因此使用 @click.prevent.self 会阻止元素及其子元素的所有点击事件的默认行为而 @click.self.prevent 则只会阻止对元素本身的点击事件的默认行为。
.capture、.once 和 .passive 修饰符与原生 addEventListener 事件相对应:
展开代码
<!-- 添加事件监听器时,使用 `capture` 捕获模式 -->
<!-- 例如:指向内部元素的事件,在被内部元素处理前,先被外部处理 -->
<div @click.capture="doThis">...</div>

<!-- 点击事件最多被触发一次 -->
<a @click.once="doThis"></a>

<!-- 滚动事件的默认行为 (scrolling) 将立即发生而非等待 `onScroll` 完成 -->
<!-- 以防其中包含 `event.preventDefault()` -->
<div @scroll.passive="onScroll">...</div>.passive 修饰符一般用于触摸事件的监听器,可以用来改善移动端设备的滚屏性能。
注意:请勿同时使用 .passive 和 .prevent,因为 .passive 已经向浏览器表明了你不想阻止事件的默认行为。如果你这么做了,则 .prevent 会被忽略,并且浏览器会抛出警告。
v-bind
动态绑定属性,可以使用简写形式' : ',看代码:
展开代码
<template>
  <div :id="id">
    展示数据
  </div>
</template>
<script setup lang="ts">
  const id:string='123'
</script>
<style></style>

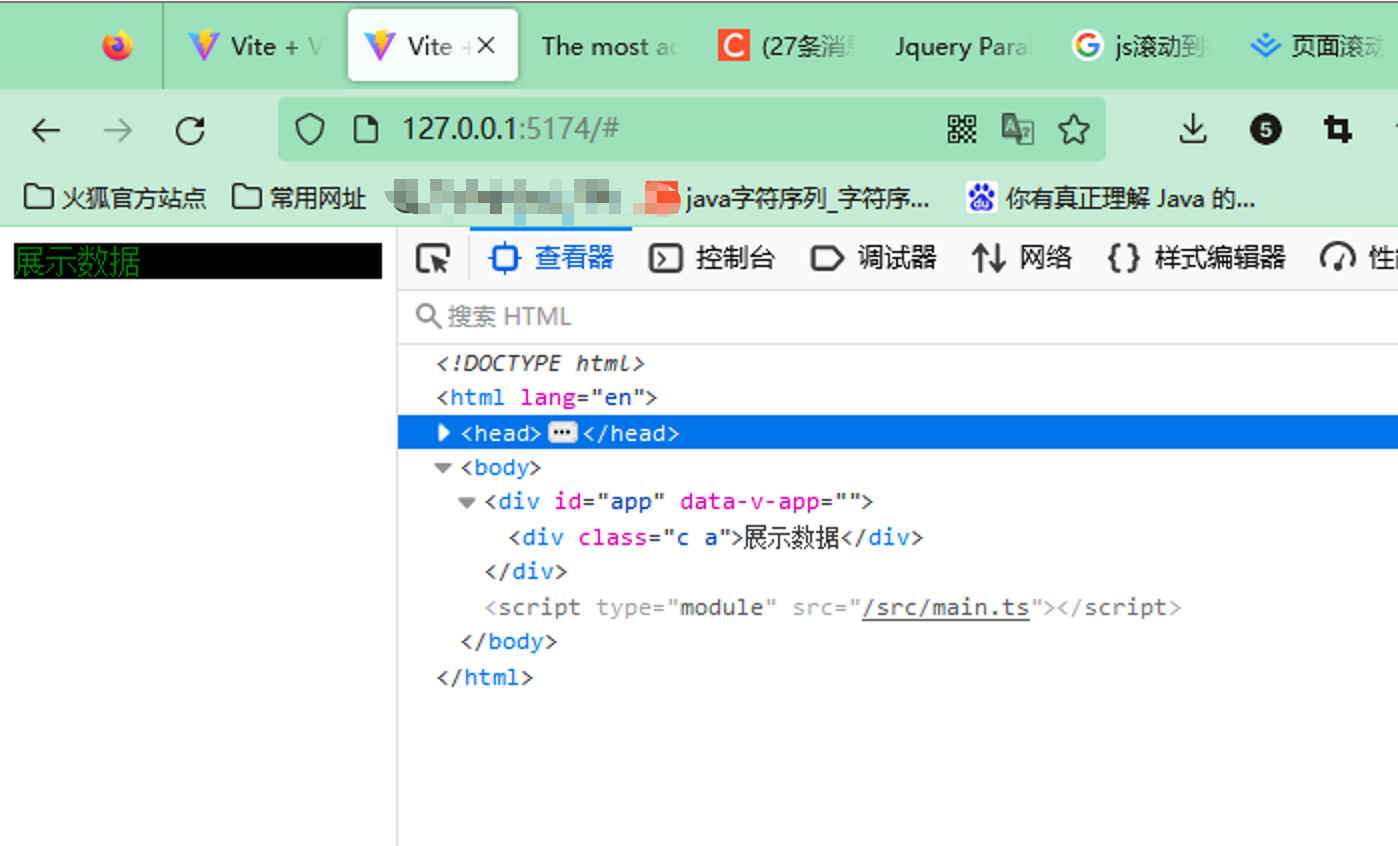
<!-- 例如:可以进行动态的修改样式 -->
<template>
  <!-- 静态和动态绑定class时,不能有多个静态或多个动态 -->
  <div class="c" :class="[bo ? 'a' : 'b']">
    展示数据
  </div>
</template>
<script setup lang="ts">
const bo: boolean = true
</script>
<style>
.a {
  color: green;
}
.b {
  color: red;
}
.c {
  background-color: black;
}
</style>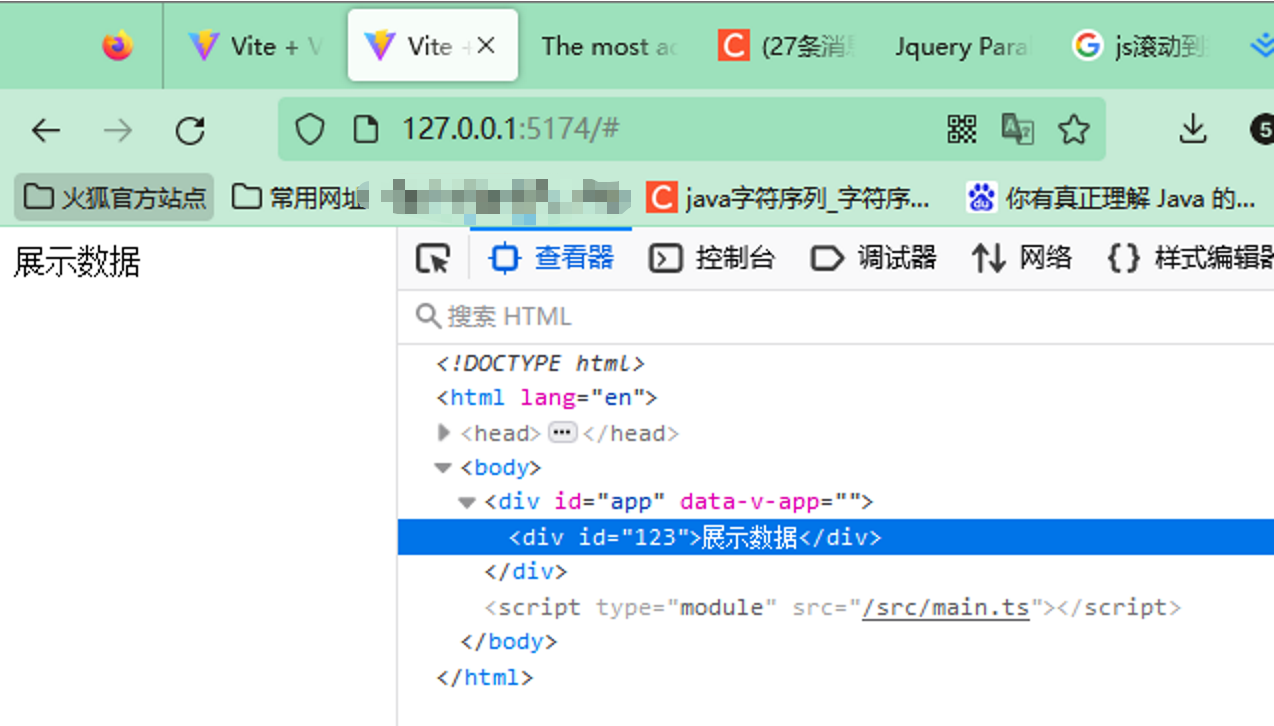
v-model
双向绑定,需要使用到ref或reactive,看代码:
展开代码
<template>
  <div>
    <input v-model="a" type="text">
    <div>{{ a }}</div>
  </div>
</template>
<script setup lang="ts">
// ref reactive只要包裹就是响应式的
import {ref} from 'vue'
const a=ref('响应式')
</script>
<style>
</style>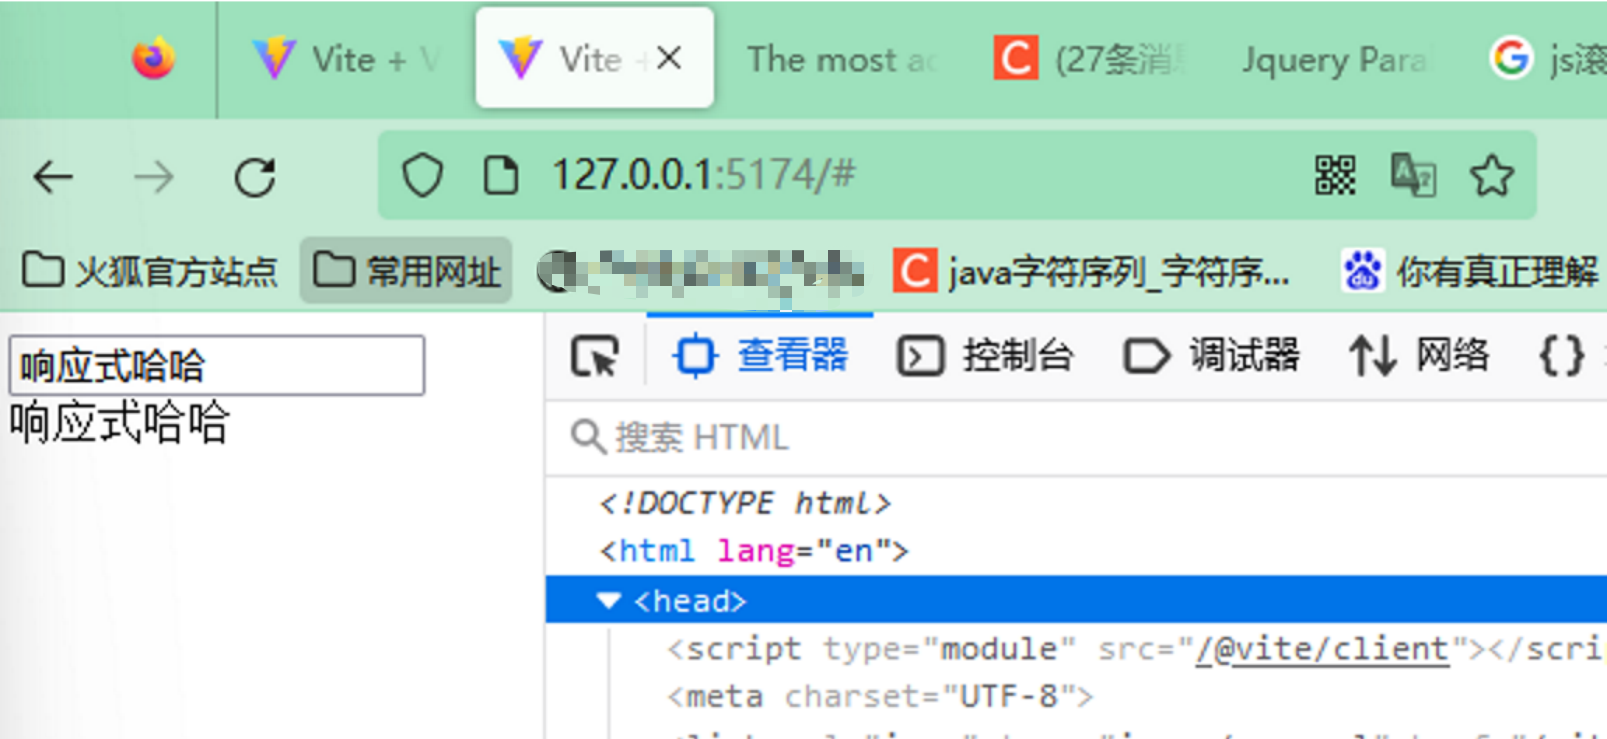
表单修饰符:
- .lazy:在默认情况下,v-model 在 input 事件中同步输入框的值与数据 (除了上述 IME 部分)。你可以添加 lazy 修饰符,从而转变为在 change 事件中同步:
<input v-model.lazy="a" type="text"> - .number:如果想自动将用户的输入值转为数值类型,可以添加 number 修饰符:
<input v-model.number="a" type="number"> - .trim:如果要自动过滤用户输入的首尾空白字符,可以添加 trim 修饰符:
<input v-model.trim="a" type="text"> - .debounce:如果要延迟用户输入的同步,可以添加 debounce 修饰符,其值为等待的毫秒数:
<input v-model.debounce="a" type="text">
v-for
跟vue2的类似,看代码:
展开代码
<template>
  <div :key="index" v-for="(item,index) in arr">
    {{ index }} - {{ item }}
  </div>
</template>
<script setup lang="ts">
const arr:string[]=['小华','小明','小林']
</script>
<style>
</style>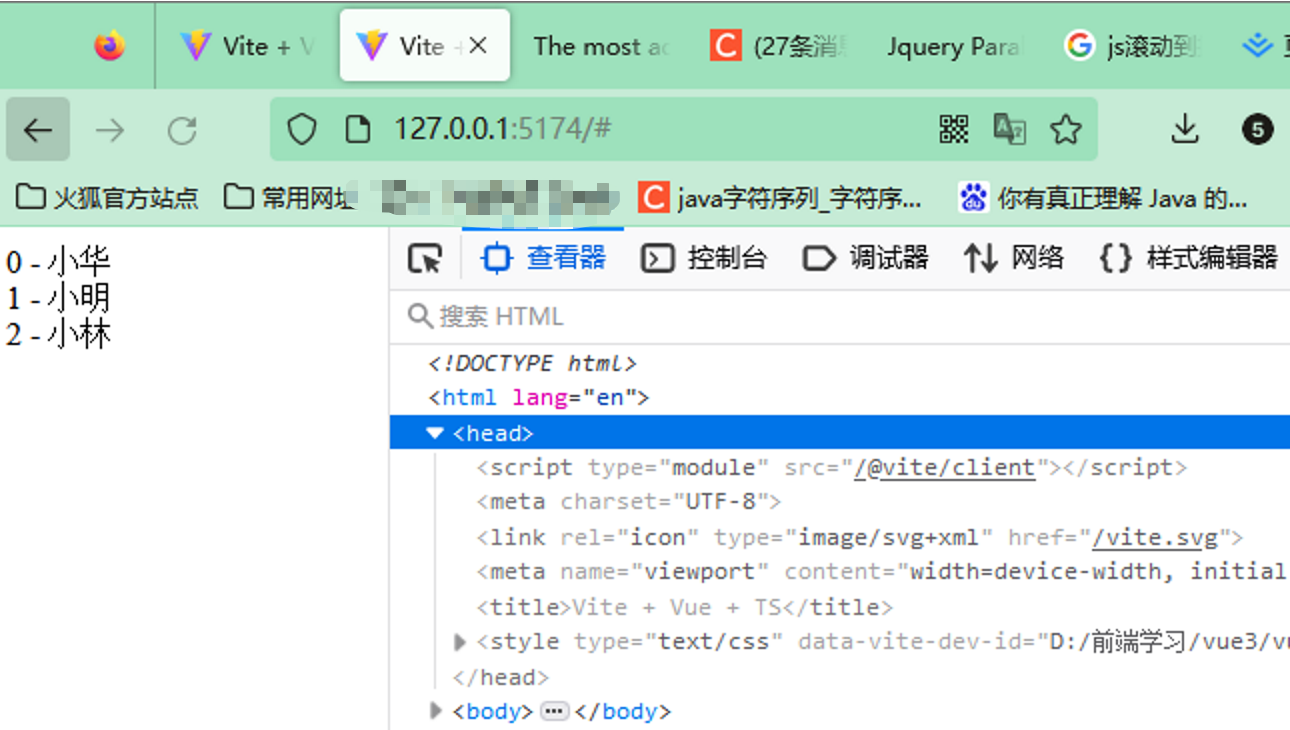
v-once
用于性能优化,之后渲染一次,看代码:
展开代码
<template>
  <div v-once>
    {{ a }}
  </div>
</template>
<script setup lang="ts">
const a:string[]=['小华','小明','小林']
</script>
<style>
</style>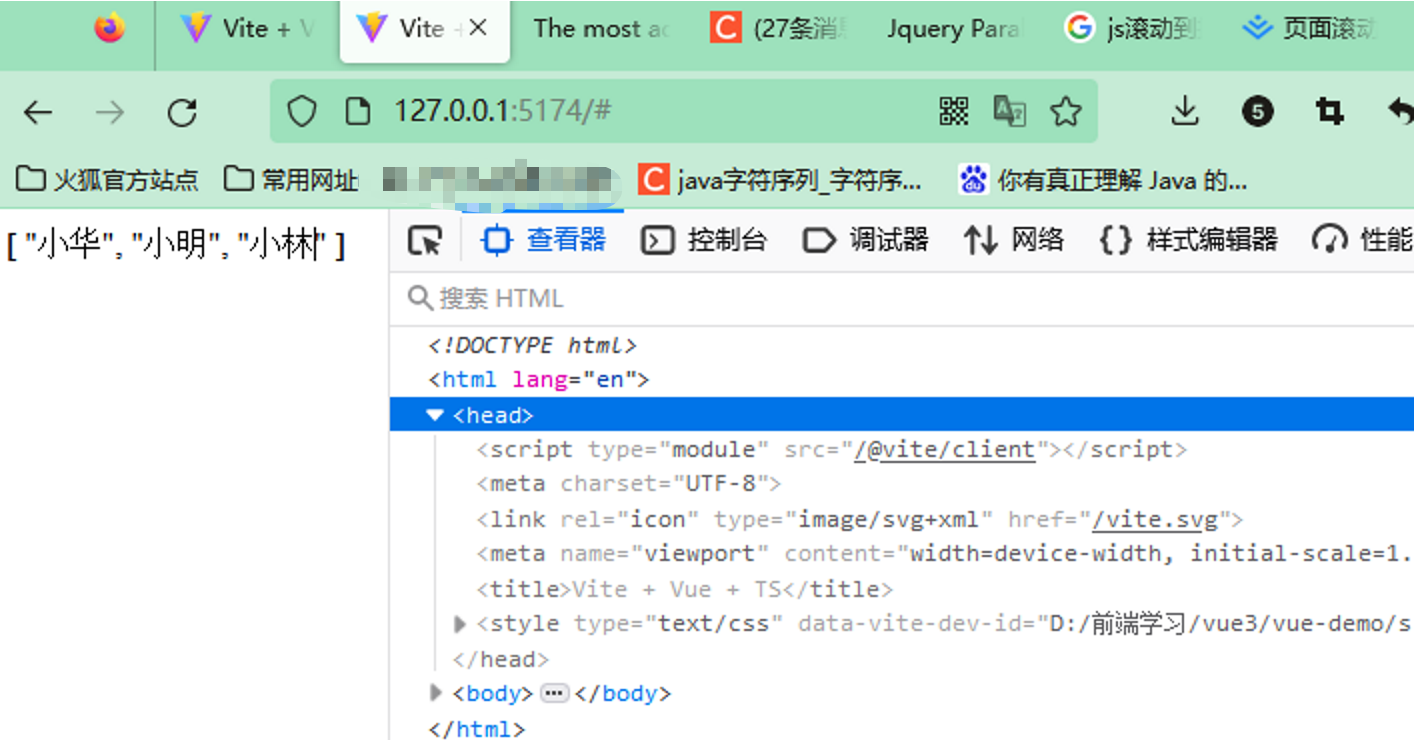
v-memo
vue3.2新增,缓存一个模板的子树。在元素和组件上都可以使用。为了实现缓存,该指令需要传入一个固定长度的依赖值数组进行比较。如果数组里的每个值都与最后一次的渲染相同,那么整个子树的更新将被跳过。
一般跟v-for连用,多用于性能优化,v-memo 仅用于性能至上场景中的微小优化,应该很少需要。最常见的情况可能是有助于渲染海量 v-for 列表 (长度超过 1000 的情况):
展开代码
<div v-for="item in list" :key="item.id" v-memo="[item.id === selected]">
  <p>ID: {{ item.id }} - selected: {{ item.id === selected }}</p>
  <p>...more child nodes</p>
</div>当组件的 selected 状态改变,默认会重新创建大量的 vnode(虚拟节点(Virtual Node)),尽管绝大部分都跟之前是一模一样的。v-memo 用在这里本质上是在说“只有当该项的被选中状态改变时才需要更新”。这使得每个选中状态没有变的项 能完全重用之前的 vnode 并跳过差异比较。
注意这里 memo 依赖数组中并不需要包含 item.id,因为 Vue 也会根据 item 的 :key 进行判断。
